Add some adorable button-up cuffs to your favorite long sleeved tee. I love Shade shirts (thanks Costco for selling them CHEAP!) and I have a ton of them so I used one for this tutorial and it worked great. As always let me know if you have any questions.
You will need:
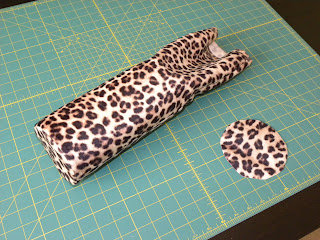
Less than 1/8 yard fabric (my shirt was white and I choose a print fabric that shows through so I also used two 6"x2" strips of white ribbon to fix that problem)
Long Sleeved Shirt (with no cuffs)
Buttons
Sewing Machine
Rotary Mat & Cutter or Scissors
I will use my measurements for this tutorial but you can adjust to your liking. I used ¼” seam allowance unless otherwise stated.
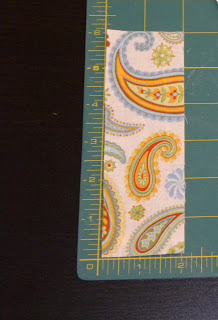
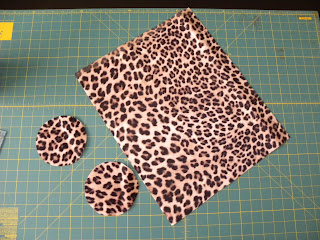
Cut out eight 2x6 rectangles from your fabric. I only cut out six rectangles from my fabric and then used two more rectangles that were all white (my ribbon) to make eight.
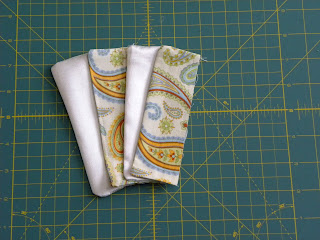
Take two rectangles and sew them right sides together along 3 edges leaving one long edge un-sewn. Repeat with remaining rectangles. If you have 2 rectangles of a different color like I did, sew each of them to one rectangle of printed fabric, right sides together.
Now you have four STRIPS. Phew, now I can stop saying “rectangle”! Turn all 4 strips right side out and press. Set aside.
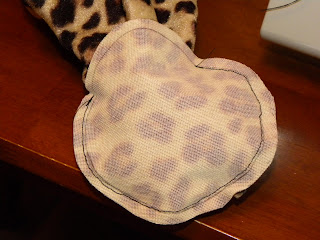
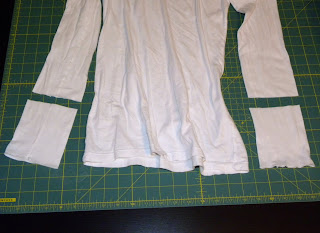
Press the ends of your shirt sleeves to make cutting easier. Mark shirt cuffs with “Left” and “Right” as if you are wearing the shirt (with your right arm being the right sleeve and so on). Cut off 5” from each sleeve to make your cuffs.
Turn each cuff inside out and carefully rip the side seams open with your seam ripper.
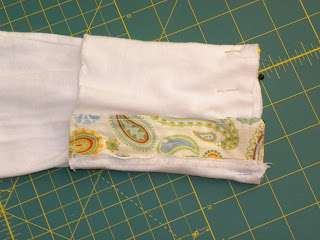
Press open un-stitched seams so they are completely flat and pull off all the loose threads. Lay down cuffs with wrong sides facing down, right side facing up and finished edges farthest away from you. Place a strip on both sides of each cuff with all the unfinished edges together. If the strip isn’t exactly the same length as the cuff, just make sure the finished edge of cuff is lined up together with the strips as these will show on the finished product. If you have two strips that have two different colors, place those two with the non-printed side facing up on the right side of right cuff and left side of left cuff. Starting at the top corners, pin & sew along all 4 unfinished, long edges. The top corners need to be pretty because they will show in the end. Lay cuffs back down just like before with wrong sides facing down, right side facing up and finished edges farthest away from you.

RIGHT CUFF:
Open up strip on the right side and fold over all the way to the opposite side of the cuff. Press with the seam facing out to the side, not up like the the fabric will want to do. Top-stitch strip 1/8” from edge directly onto your cuff all the way around the strip then
sew buttonholes to each of these strips. Refer to your machine’s user manual if you need help doing the buttonholes.
Open up remaining strip and press so that the unfinished edges on the inside of seam are directly under the strip. Top-stitch on the right side of the strip 1/8” from edge. Make sure to catch the bulky overlap (the unfinished edges that you just pressed under) as you sew. Go all the way around the strip, but make sure you don’t sew it onto your cuff like you did with the first strip.

Bring your two strips together right sides out with the buttonhole strip on top and mark the other strip where you need to sew your buttons.  Hand or machine-sew buttons to each blank strip and button up each of your cuffs.
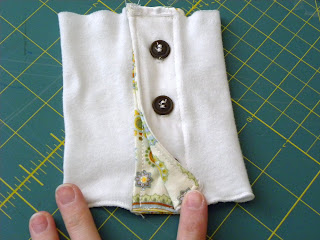
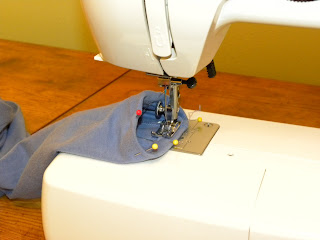
Now check for your mark of “Left” or “Right”, turn your cuff inside out and put it around your sleeve (sleeve should be right side out) with all unfinished edges together. VERY IMPORTANT: When lining them up, make sure the right (as in *wrong and right*) side of your cuff’s opening slit is 180 degrees from your sleeve’s side seam and pin.
 Sew the cuff to the sleeve along the unfinished edges (use as small of a seam allowance as possible - ¼” at most as to avoid shortening your sleeves any more than you need to.
LEFT CUFF:
Repeat instructions for right cuff except start out opening up strip on the left side. It should be a mirror image of your right cuff.
I hope you love it as much as me! Please link me if you post about this, thanks!
~Star
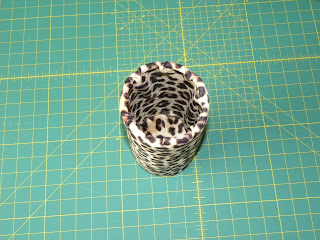
 I told you I have a lot of these long sleeved Shade shirts to experiment with!
 Now turn your strap right side out and your shirt inside out, lay strap over elastic and pin strap's unfinished edge to sleeve's seam.
 Sew a straight line to attach the strap to the seam then flip strap and sew another straight line to hide the unfinished edge.
 Now sew your buttonhole on the end of the strap
 Hand sew a button just above where the elastic ends.
 Button it up (ignore my white chalk marks)!
 Try it on and let me know how it turned out!


 I love a project that is simple and inexpensive and I really think labels add that extra touch that you need on a handmade item. I made some for items I plan to sell and some for gifts and it only cost me ten bucks.


 Take your 14"x17" fabric and sew the 17" sides together with a 1/4" seam allowance
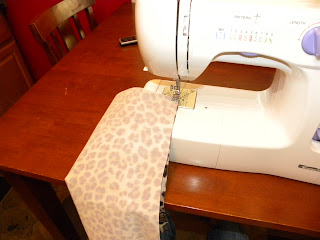


 You should